Cupcakes are one of the yummiest desserts on the earth. But, you know, they are fun to photograph also, right? Their pretty colours and creative decorations make for great photos and shooting them is truly like a piece of cake. I know you are here searching for the tips to capture unique photographs of the cupcakes. So, stay tuned with me to get the top 10 pro tips for stunning cupcake photography.
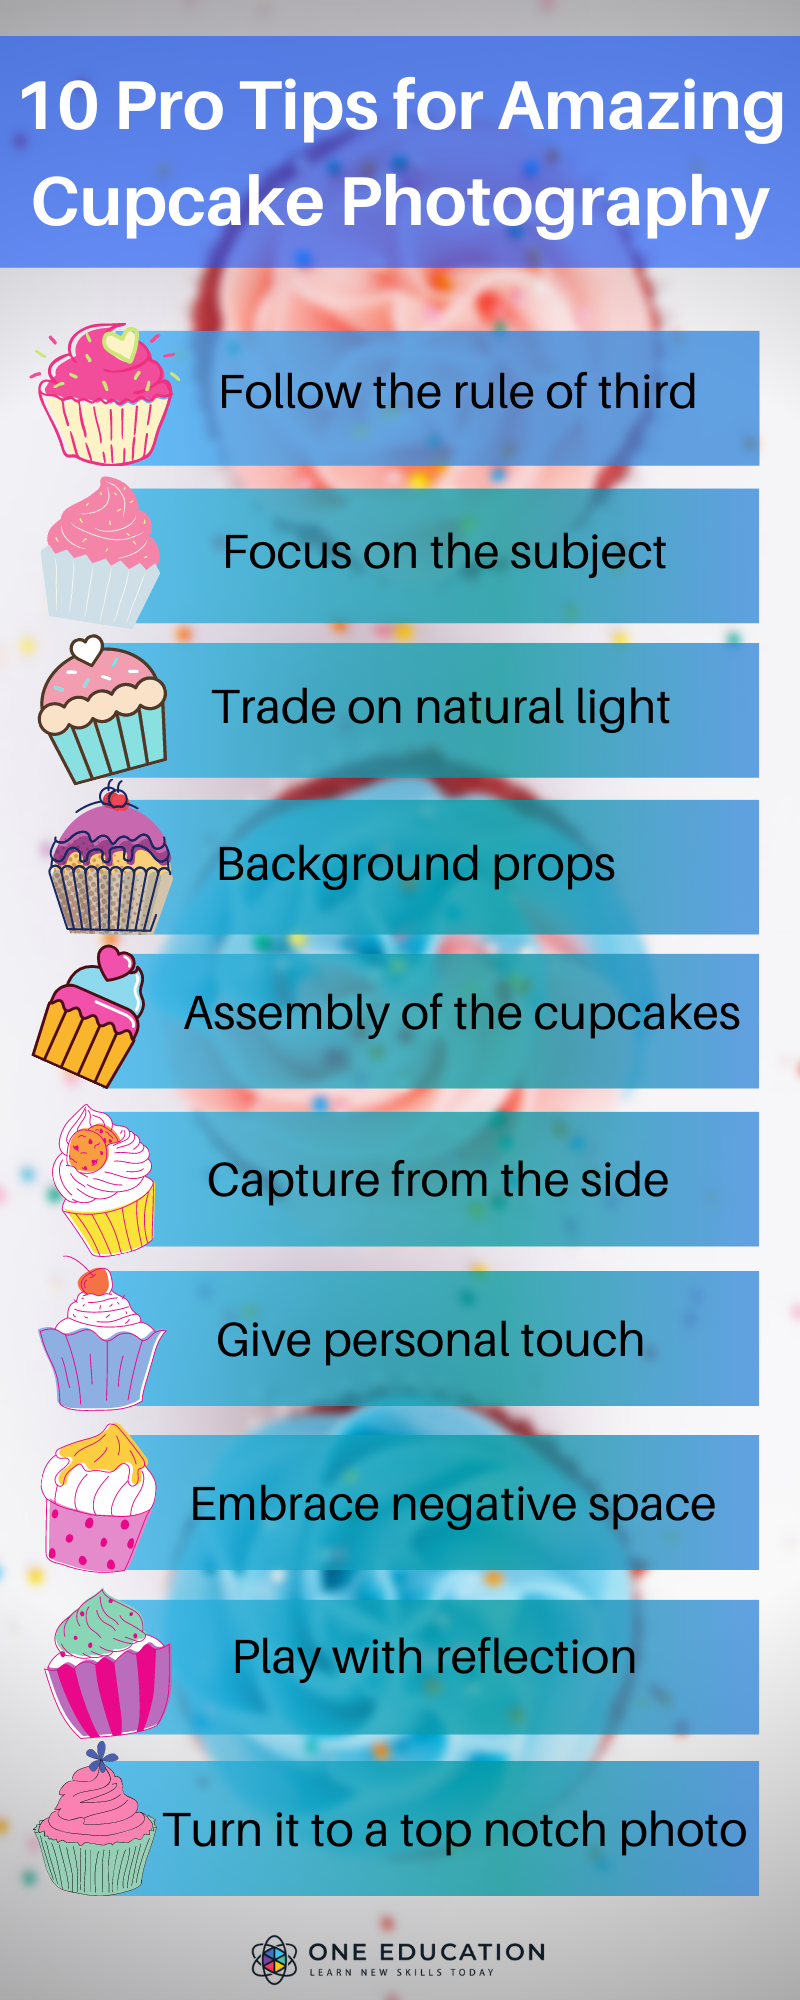
10 Pro Tips for Taking Amazing Cupcake Photography
If you want to play with your cupcakes, you must know some techniques to make your captured image look even more appealing. Indeed, the tips and tricks for cupcake photography are many. So, I’ve come up with 10 pro tips for you to be a fantastic cupcake photographer.
1. Take Advantage of the Grid Lines
Do you now what grid is? A grid is a layout on your camera that shows lines/grids, so you will be able to assess the proportions of your subject. Sometimes this is called the Rule of Thirds. Your subject should be along the intersections.
The rule of thirds is a photographic composition principle which indicates that an image should be broken down into thirds, both horizontally and vertically, so that in total you have nine parts. As a result, if you place points of interest in these intersections or along the lines, your photo will be more balanced, levelled, and allow viewers to interact with it more naturally.
After capturing your cupcake photos using the grid lines, enhance and optimize your images with an AI image editor like Picsart. Its powerful AI Photo Editing tools will let you transform your ordinary photos into stunning works of art in a single click. This way, you can create visually appealing images that are not only well-composed but also professionally edited.
2. Focus on the Subject
Many of the best photos comprise just one exciting subject. So when taking a picture of a cupcake, spend some additional time in setting up the shot. To clarify, some professional photographers quote that the subject shouldn’t fill the entire frame, and two-thirds of the photo should contain negative space. It helps the subject stand out even more. But be sure you tap the focus option of the camera on your object. That is to ensure it’s focused and the lighting is optimized.
Pro Tip: After taking your photo, use filters and apps to make the subject even more vivid. Also, you can crop it to frame the subject correctly. Besides, the brightness, contrast, and saturation of the photo can also be adjusted accordingly. However, don’t worry if you don’t have any camera, you can do this all from your phone.
3. Trade on Natural Light
If there is sufficient natural light in the place where you intend to take the photos, please try to take your photos with the electric lights switched off. Certainly, natural light works best. However, a lightbox or big photography lights can be perfect, but with or without these, natural light is always best for cupcake photography. For instance, soft light from a window or an overhead light creates a beautiful effect on a cake. So always try to capture photo under natural light near a window. Besides, an image looks boring if it is taken in the middle of a room, at least for me!
4. Prompt Settings and Backgrounds
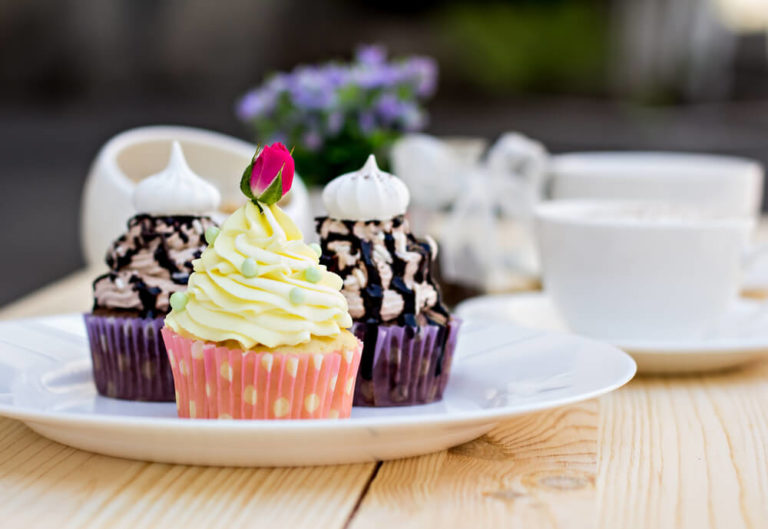
Who wants to see a fantastic cake with a pile of ironing behind it? To make your cupcake even more interesting, invest in buying wallpapers from a DIY shop and use this as a background. Another eye-catchy backing is scrapbooking paper which you can buy from craft shops near your place. Also, you can line some plywood with wallpaper and have different backgrounds as “replacement walls” behind your cake.
For artificial backdrops, you can also create wallpaper with ease using tools. I urge you to experiment with some unusual funky background which you’ll find online. All you need is to download the image and place your laptop behind the cupcakes to work as a backdrop, and you’ll see the magic in front of your eyes, voila!!!
5. Assemble the Cupcakes
To have a successful cupcake photoshoot, line up those tiny cutey cupcakes like the one in the soldier’s assembly! That is to say; cakes should be positioned neatly in rows all facing the same direction for the best and neatest effect in photos. Also, all your flowers or decorations should point the same way! Most importantly, keep everything clean and tidy and don’t over clutter with backgrounds
6. Capture Photo from the Side
To make a photograph more memorable, taking it from a unique, unexpected angle can play the tricks. It not only creates an illusion of depth or height with the subjects but also makes the image stand out,
However, while taking cupcakes photography, try to avoid too many overhead shots as these can get boring. Instead, crouch down and take a picture from the side view. It will make the cakes look as if they are fading into the distance so you can create an effect of lots of cakes when you perhaps only have 10 or 15! You can also try a few angles but always take into account the side view first!
7. Make It Personal
Take loads of photos and figure out what resembles YOU. It would be best if you gave it your own flair and personal touch. In cupcake photography, for example, this can come through props, backdrops, wallpapers or even how you edit the photos. And before you know it, you will have a beautiful picture.
8. Embrace Negative Space
Negative space is the empty areas around and between the subjects of an image. And you know what? It can turn a photo from good to a majestic one! When you include a lot of space in a pic, your subject will stand out more and bring forth a stronger reaction from your audience.

9. Have Fun with Reflection
Don’t you feel the serenity, the tranquillity of mother nature by seeing the sky reflected in a body of water? Indeed, the reason why we love seeing that is our eyes which are drawn to reflections. So, look for the opportunities to play with them in your cupcake photographs.
There are a handful of out-of-the-box places to find reflections, to illustrate, puddles, larger bodies of water, mirrors, sunglasses, drinking glasses and metallic surfaces are just a few.
10. Fabricate a top Notch Photo
After taking the image, you have to edit it to take it to the next level. When editing the image, be sure to get the perfect balance between your whites and blacks, and between your shadows and highlights as well. Thus, these edits will give you the correct foundation to play with the colour treatment.
Likewise, you can also use colour blocking because sometimes it’s cool when an entire photo is black and white, except for a single object. Also, it can help to highlight the elements of a picture that you want to stand out, like the frosting or sprinkle over the cake, or something else with a bold hue. Though it is similar to negative space, with colour blocking, the photo’s other elements remain intact for a cohesive image.
Related blog you may read now: 5 Ways to Prevent Cakes from Sinking in the Middle
FAQs
1. How do I avoid a washed-out look in my cupcake photos?
A: Adjust your camera settings to avoid overexposure. Experiment with manual mode and adjust the aperture and shutter speed for optimal results.
2. How do I avoid a washed-out look in my cupcake photos?
A: Adjust your camera settings to avoid overexposure. Experiment with manual mode and adjust the aperture and shutter speed for optimal results.
3.0What’s the best time of day for natural light photography?
A: The golden hour, shortly after sunrise or before sunset, provides soft, warm light that enhances the visual appeal of your cupcakes.
4. How can I make my cupcakes look more appealing in photos?
A: Experiment with garnishes, varied compositions, and vibrant colors to make your cupcakes visually appealing and irresistible.
5. Any tips for capturing action shots while decorating cupcakes?
A: Use burst mode on your camera or smartphone to capture the dynamic process of decorating cupcakes. It ensures you don’t miss a single captivating moment.
6. How do I create a cohesive theme for my cupcake photography on social media?
A: Stick to a consistent color palette, background style, and photo editing. A cohesive theme enhances the overall aesthetic of your social media feed.
Final Thoughts
In short, cupcake photography is all about bringing creativity in your image while gambling with the light, colours and different perspectives. And the grid lines and negative space will lead you towards capturing a splendid piece of artwork.
In this blog, my intention is to sieve the most influential 10 tips for cupcake photography from the tons of options. I believe you’ve found this effective and can capture amazing cupcake pictures by following the tricks.
Thank you and do visit our website One Education to ameliorate your skills in different aspects. Take care mate!



 September 17, 2023


